Join the Research Computing Club
Gain access to supercomputing resources & cloud credits!

Tillicum GPU Cluster
UW's next-generation GPU-accelerated research computing platform is here.
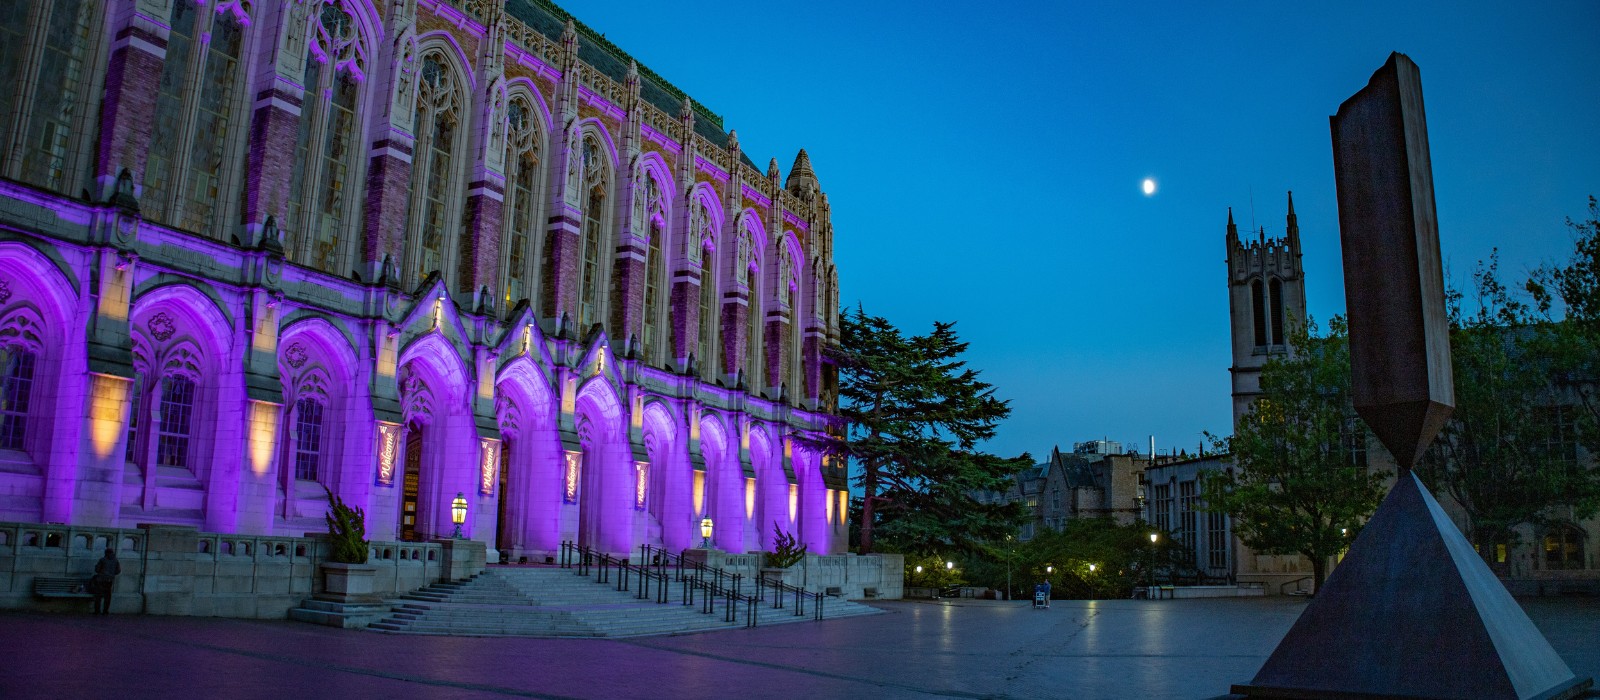
Hyak Klone
Discover UW's On Campus High-Performance Computing Cluster.
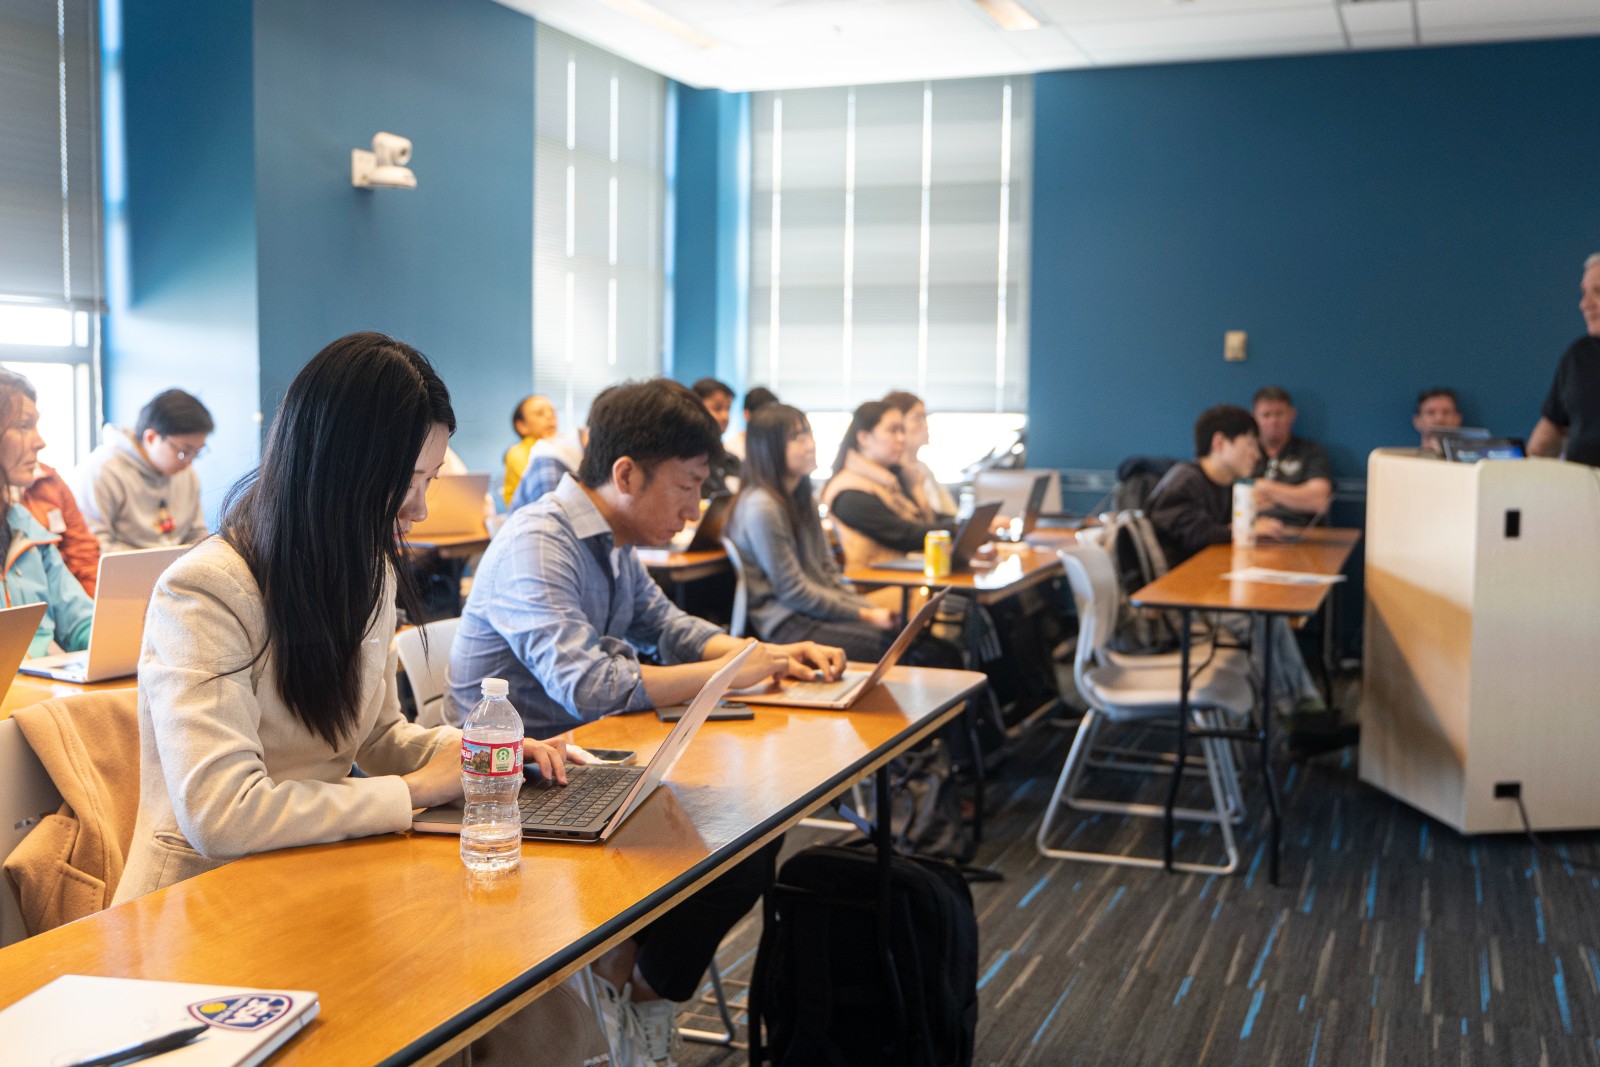
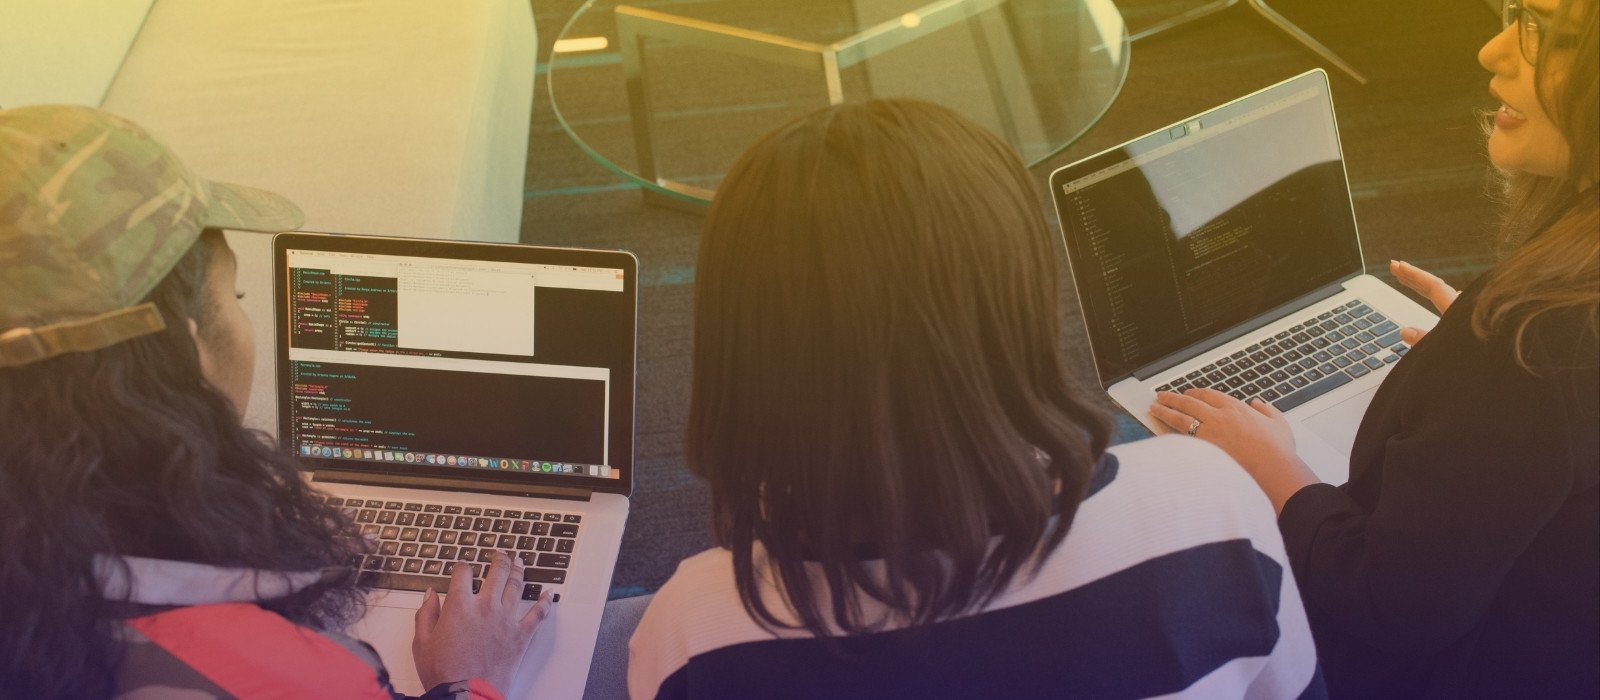
Regular Training Opportunities
Learn new skills and optimize your computing portfolio.

Explore On-campus Research Data Storage
Looking for Data Storage Solutions?
Join the Research Computing Club
Gain access to supercomputing resources & cloud credits!
Tillicum GPU Cluster
UW's next-generation GPU-accelerated research computing platform is here.