February 2026 Maintenance Update
During this month’s scheduled maintenance window, we worked on a set of planned upgrades and routine updates across Klone and Tillicum aimed at improving system stability, security, and overall performance. As with any maintenance, some items may require additional follow-up work in future windows. The next scheduled maintenance window is Tuesday, March 10, 2026 (the second Tuesday of the month).
Notable Updates
- System-wide firmware upgrades to improve stability and security
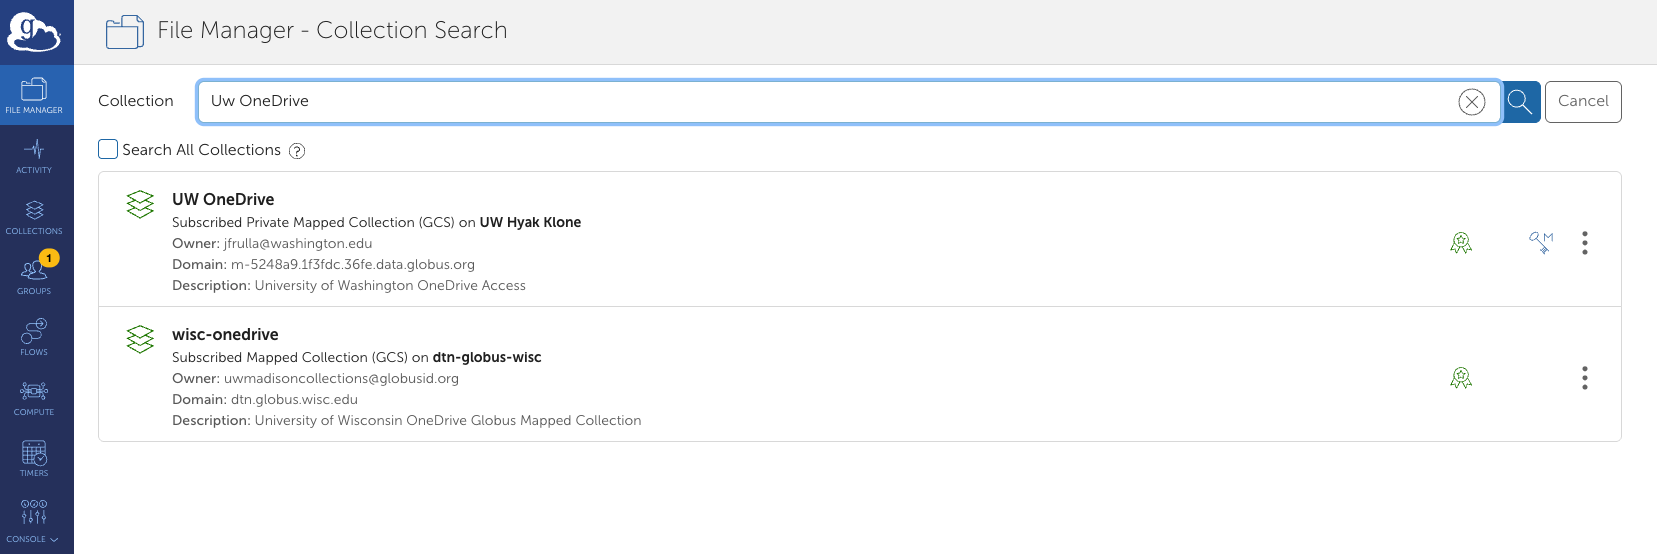
- Upgrade of Globus on Klone to the latest stable release
- Updates to Open OnDemand on both Klone and Tillicum
- Package updates and node reboots on Tillicum, focused on faster system recovery and improved uptime
Important Storage Reminder for Hyak Klone
Hyak Klone does not provide backup, persistent storage, or archival storage. All data on Klone exists as a single copy and is therefore vulnerable to loss due to hardware failure, filesystem issues, facility damage, or natural disasters. Users are solely responsible for transferring important results to external systems (for example, Kopah S3 or Lolo Archive) during the course of their project if persistent or long-term storage is required. Retaining long-term or archival data on Klone is against administrative guidance.
Winter 2026 Computing Workshops
- AWS Kiro Workshop Monday March 2, 10am-4pm (lunch included).
- Managing Python Environments with Conda and Jupyter Thursday March 5 1-3pm
- All workshop have an in person and remote attendance option.
Stay informed by subscribing to our mailing list and the UW-IT Research Computing Events Calendar.
Office Hours
- NEW Cloud Computing Office Hours:
- Need support with your research or project using cloud resources? Attend Cloud Office Hours to get help navigating University of Washington cloud services and storage solutions (Amazon Web Services, Google Cloud Platform, and Microsoft Azure).
- Every other Tuesday at 10am on Zoom - Check our events Calendar
- Winter AWS Office hours – AWS solutions architects will be on Zoom to answer your questions and help you troubleshoot.
- Hyak and Tillicum Office Hours:
- Wednesdays at 2pm on Zoom. Attendees need only register once and can attend any of the occurrences with the Zoom link that will arrive via email. Click here to Register for Wednesday Zoom Office Hours.
- Thursdays at 2pm in person in eScience. (address: WRF Data Science Studio, UW Physics/Astronomy Tower, 6th Floor, 3910 15th Ave NE, Seattle, WA 98195).
- See our office hours schedule, subscribe to event updates, and bookmark our UW-IT Research Computing Events Calendar.
Additional Training Opportunities
Computing Training from eScience

- The eScience Institute is holding a Software Carpentry workshop on February 17th-20th from 9:00 a.m. to noon PT each day on Zoom. The workshop focuses on software tools to make researchers more effective, allowing them to automate research tasks, automatically track their research over time, and use programming in Python to accelerate their research and make it more reproducible. Register here.
- Programming from Zero to Hero! The advent of AI-assisted programming (sometimes called “vibe programming”) enables researchers with little or no programming experience to create running programs. This is often referred to as programming from zero. However, codes that run are often not codes that produce the correct result. This lecture introduces techniques for AI-assisted programming for checking correctness, correcting errors, and adding new features. Some prior programming experience is desirable, but not essential. We will be developing Python programs using Google Colab. You should check that you have access to this free service. Please visit our Google Form to register for the February 23, 2-4pm event at the eScience Institute WRF Data Studio.
- The A.I. ABCs is an eScience workshop that surveys the many AI/ML tools available for analyzing structured data. The workshop is targeted at researchers with some programming experience. The workshop will take place 9:00 a.m. to noon PT each day from Monday March 2nd through Thursday March 5th. Register here.
External Training Opportunities
- Argonne Training Program on Extreme-Scale Computing (ATPESC) provides an intensive, two-week training on the key skills, approaches and tools to design, implement and execute computational science and engineering applications on current high-end computing systems and the leadership-class computing systems of the future. Event: July 26 — August 7, 2026. Application Deadline Feb 25, 2026.
- Batch Computing: Working with the Linux Scheduler 02/12/26 - Time: 11:00am – 12:30pm
- CloudBank Cloud Clinic: Using SkyPilot to Manage Cloud Infrastructure 02/17/26 - 11:00 AM - 11:30 AM
- ACES: AlphaFold Protein Structure Prediction 02/17/26 - 8:00 AM - 9:30 AM
- Compute Across Distributed Resources with Globus and ACCESS 02/19/26 - 11:00 AM - 12:00 PM
- A Quick Start to Accelerated Quantum Supercomputing with CUDA-Q 02/20/2026 - 8:00 AM - 9:30 AM
- Architecting Reproducible Science: A Practical Path Beyond the Notebook 03/10/26 - 11:00am – 12:00pm
- COMPLECS: Data Transfer 03/12/26 - 11:00 a.m. – 12:30 p.m.
- Automate Data and Compute Management Tasks with Globus and ACCESS Resources Mar 19, 2026 11:00 AM
- Containers for Portable Programming Environment Training 3/25/2026 9 AM - 1 PM
- COMPLECS: Linux Shell Scripting 04/09/26 - 11:00am – 12:30pm
- Fine Tuning Large Language Models (LLMs) with Domain Specific Datasets 04/14/26 - 11:00am – 12:00pm
- 2026 ALCF INCITE GPU Hackathon Apr 28 – 30, 2026
- COMPLECS: Data Storage and File Systems 04/30/26 - 11:00 a.m. – 12:30 p.m.
- From Atoms to Algorithms: GPU Acceleration of Molecular Dynamics, DFT, and QM/MM Simulations 05/12/26 - 11:00am – 12:00pm
- National AI Workshop June 2-3, 2026 Denver, Colorado
Having trouble? Get Research Computing support.
Happy Computing,
Hyak Team
